The Art of Clay Pot Cooking: A Complete Guide to Healthier & Tastier Meals

Hello there, fellow food enthusiasts! As a seasoned chef based in bustling New York City, I’ve spent years exploring every nook and cranny of culinary techniques—from slow-roasted lamb shanks to sizzling stir-fries. But one method has always held my heart close: clay pot cooking. There’s something truly magical about creating richly flavored dishes that are not only delicious but also incredibly nutritious. In this guide, I’ll walk you through everything you need to know about unlocking the secrets of this ancient yet timeless technique. Let’s dive right in!
History and Origins
Ancient Beginnings
Did you ever wonder where the idea of cooking in earthenware originated? Well, let’s go back thousands of years! The earliest evidence dates as far back as prehistoric times, where early humans discovered that baked clay could be molded into vessels capable of holding liquids and foods over fire.
In India, they call it handi, while in China, it’s known as sha guo. These simple tools became essential parts of everyday life across many continents. From Africa’s tagine stews to Italy’s rustic bean soups simmered in terracotta, these humble kitchen companions continue to shape global cuisine today.
Clay pots were initially prized because they conducted heat evenly, preventing burning or sticking—a crucial advantage long before modern ovens came along. Over time, they evolved into symbols of cultural identity, carrying stories passed down through generations. Even now, they remain integral to preserving traditions, offering us both nostalgia and innovation wrapped up in one earthy package!
So next time you’re enjoying a meal prepared in a clay pot, remember—the journey began way before recorded history!
Benefits of Clay Pot Cooking
Nutritional Advantages
As someone who cares deeply about both nutrition and flavor, I’m thrilled to share the amazing advantages of cooking in clay pots. First off, here’s why it’s healthier:
- No Chemical Leaching: Unlike metal cookware, clay pots don’t release toxic compounds into your food. Instead, they impart beneficial minerals like calcium, magnesium, and iron, adding a natural boost to your diet.
- Better Vitamin Retention: Clay retains moisture better than most materials, meaning vitamins aren’t lost due to evaporation. This leads to nutrient-dense meals full of goodness.
- Lower Fat Content: Thanks to their ability to lock in moisture, clay pots require little to no oil for cooking. Less fat equals lower caloric intake, perfect if you’re watching your waistline!
By choosing clay pots, you’re opting for cleaner eating that’s kinder to your body—and planet too!
Flavor Enhancement
Now let’s chat about the magic behind those incredible tastes! Three key aspects set clay apart:
- Even Heating: Slow and steady wins the race here. Clay distributes heat gently across the entire pot, ensuring nothing burns while maintaining succulent textures.
- Steamed Perfection: Trapped steam creates an internal pressure system within the pot, leading to ultra-tender meat and crisp-but-not-dry vegetables.
- Earthiness Factor: Ever notice that special “something” missing from regular pan-fried fare? That’s exactly what clay brings—an unmistakable earthy note that elevates simple ingredients beyond recognition.
Trust me when I say once you’ve tried clay pot cooking, you’ll never want to go back!
Types of Clay Pots
Unglazed vs Glazed Clay Pots
When selecting a clay pot, understanding the difference between glazed and unglazed varieties will help determine which best suits your needs. Let me break it down:
| Feature | Unglazed Clay Pots | Glazed Clay Pots |
| Porosity | High | Low |
| Heat Retention | Excellent | Good |
| Flavor Profile | Earthy, Mineral-Rich | Neutral |
| Ease of Cleaning | Requires Soaking | Easier to Clean |
| Use Cases | Best for Braising, Stewing | Ideal for Baking, Roasting |
Unglazed pots absorb water and minerals, giving food a distinct earthy quality. However, they’re harder to maintain since they stain easily. On the flip side, glazed pots offer easier cleanup but lack the same depth of flavor.
Choose according to your preferences—both deliver fantastic results!
Regional Variations
From continent to continent, variations abound! Here are some examples:
- Indian Handis: Made from coarse red clay, these heavyweight workhorses excel at slow-cooking curries and biryanis.
- Chinese Sha Guos: Lighter in weight, sha guos feature thin walls allowing quick heating ideal for seafood preparations.
- Moroccan Tagines: Wide-mouthed conical lids trap steam, concentrating intense aromas typical of North African spice blends.
Each region contributes unique styles tailored specifically towards local cuisines. Experimenting with regional differences adds layers of discovery to your culinary adventures!
Preparation Time and Temperature Guidelines
How Long Does It Take?
Preparing meals in clay pots generally requires longer cooking times compared to conventional methods. Here’s a general timeline to keep in mind:
- Quick Stir-Frys: About 15–20 minutes depending on ingredient size.
- Simmered Stews/Soups: Typically range from 45 minutes to two hours for maximum flavor extraction.
- Baked Goods/Meats: Expect anywhere from 30 minutes upwards, especially for larger cuts requiring thorough cooking.
Always account for additional time needed to properly soak and season your clay pot beforehand!
What Temperature Should I Use?
Setting the correct temperature ensures successful outcomes. Follow these tips:
- Low & Slow: For delicate items like fish fillets or cream-based sauces, stick to low-heat settings (around 275°F).
- Medium Heat: Perfect for braises and stews; aim for medium-high (about 350°F), ensuring gentle bubbling without boiling over.
- High Temperatures: Only necessary for browning purposes prior to transferring into slower cooking phases.
Adjust accordingly based on recipe requirements and personal preference. Remember, patience pays off big-time in achieving restaurant-quality results!
Calorie Counts in Clay-Pot Dishes
Lower Fat Content
One major benefit of cooking in clay pots is the reduction in fat content. Here’s why:
- Less Oil Needed: The natural moistening properties mean you won’t need much—or any—added oil.
- Healthier Alternatives: Many traditional recipes rely heavily on lean proteins and fresh produce rather than fatty cuts or processed ingredients.
- Nutrient Density: More moisture retained equals higher vitamin concentration per serving.
This translates directly into lower calorie counts without sacrificing flavor!
Nutrition Facts Table
To give you an idea of just how nutritious clay-pot cooking can be, check out these sample values below:
| Recipe | Servings | Calories | Protein (g) | Carbohydrates (g) | Fats (g) |
| Chicken Curry | 4 | ~280 | 30 | 15 | 10 |
| Vegetarian Ratatouille | 6 | ~180 | 8 | 25 | 5 |
| Lamb Kofta Casserole | 8 | ~350 | 35 | 20 | 15 |
Note: Exact numbers vary slightly depending on specific ingredients used. Always consult individual recipes for precise calculations.
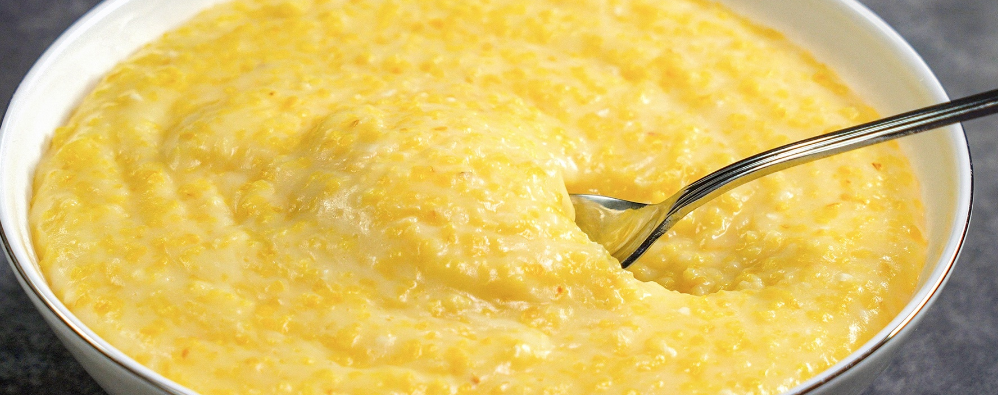
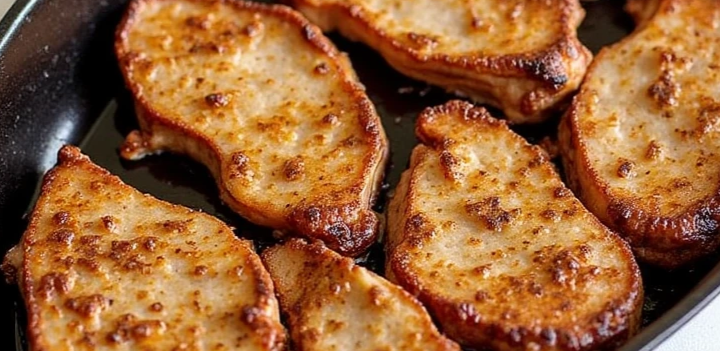
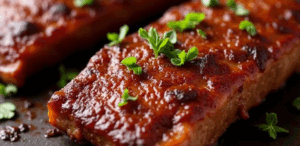
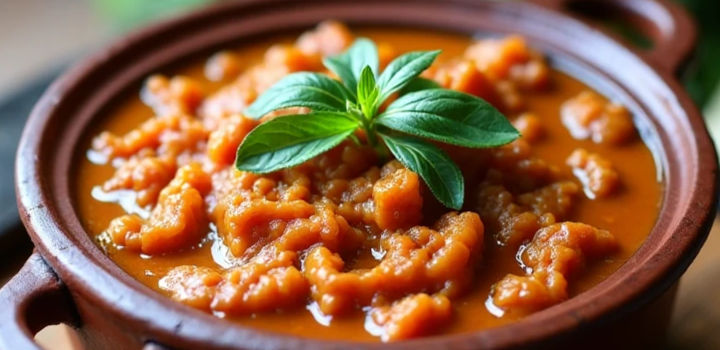
Recipes You Must Try
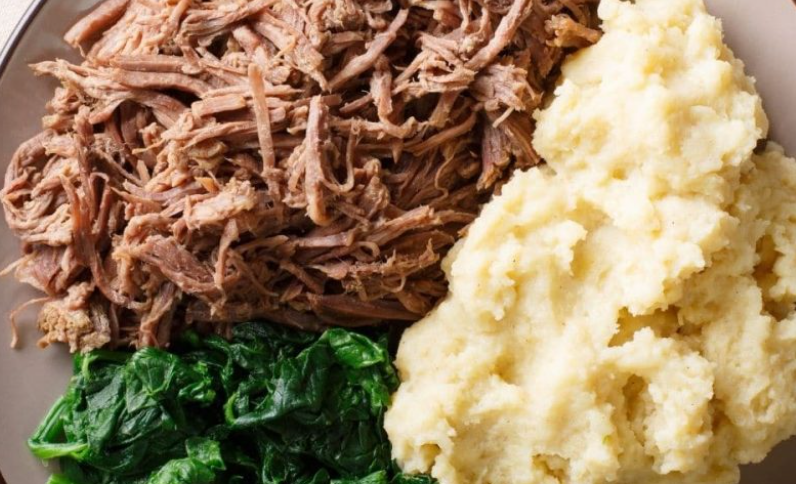
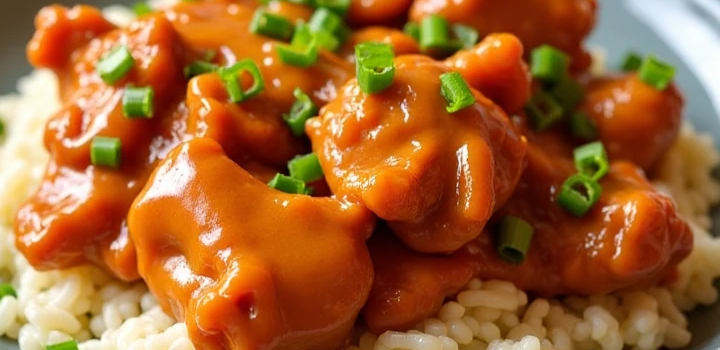
Traditional Indian Chicken Curry
Let me show you how to create an authentic Indian chicken curry using a clay pot. It’s easy, delicious, and bursting with fragrant spices!
Ingredients:
- 1 lb bone-in chicken thighs
- 1 large onion, chopped
- 2 cloves garlic, minced
- 1-inch piece ginger, grated
- 1 tsp ground coriander
- ½ tsp turmeric powder
- ¼ tsp cumin seeds
- Salt to taste
- Fresh cilantro leaves for garnish
Instructions:
- Season the Clay Pot: Soak your unglazed clay pot overnight to ensure proper hydration.
- Prepare Ingredients: Chop onions finely, mince garlic, and grate ginger.
- Sauté Aromatics: Add a small amount of olive oil to the bottom of the pot. Sauté onions until translucent, then add garlic and ginger.
- Add Spices: Sprinkle in coriander, turmeric, and cumin seeds. Mix thoroughly to coat the mixture.
- Layer Ingredients: Place chicken pieces skin-side down atop the spiced base. Cover tightly with the lid.
- Simmer Away: Set the oven to 300°F and place the covered pot inside. Allow it to cook undisturbed for approximately 90 minutes.
- Serve Up: Remove from heat, sprinkle with fresh cilantro, and enjoy alongside steaming basmati rice!
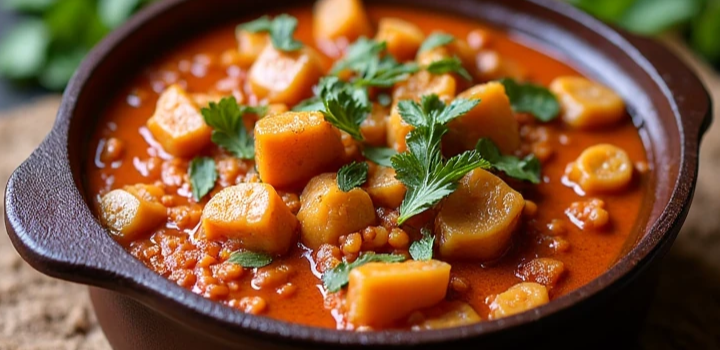
Mediterranean Vegetable Stew
Looking for a lighter alternative? This vegetable stew hits all the right notes!
Ingredients:
- 2 cups mixed bell peppers (red/yellow/green)
- 1 cup cherry tomatoes
- 1 zucchini, sliced
- 1 eggplant, cubed
- Olive oil
- Sea salt
- Dried oregano
Instructions:
- Soak the Pot: Ensure your clay pot is fully hydrated by soaking it overnight.
- Chop Veggies: Cut peppers, zucchini, and eggplants into bite-sized chunks.
- Coat Generously: Drizzle a light layer of olive oil over the vegetables. Sprinkle liberally with sea salt and dried oregano.
- Roast in Oven: Place the covered clay pot in a preheated 350°F oven. Bake for 45–60 minutes until vegetables become tender.
- Enjoy: Serve warm topped with extra virgin olive oil drizzle and freshly torn basil leaves.
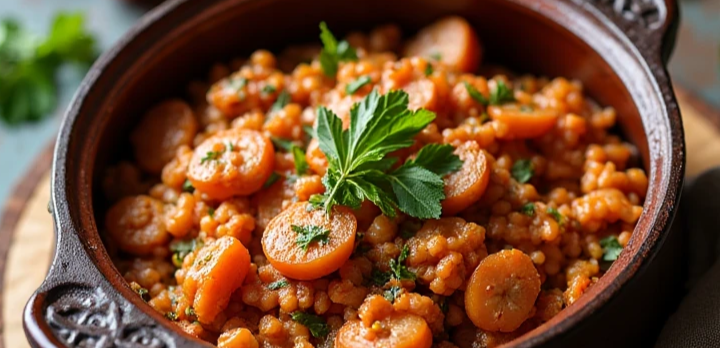
Spanish Paella
Paella meets clay pot perfection! Here’s my spin on this iconic Spanish rice dish.
Ingredients:
- 2 cups short-grain white rice
- 4 cups homemade chicken broth
- 1 lb assorted seafood (shrimp, mussels, clams)
- Saffron threads
- Smoked paprika
- Lemon wedges
Instructions:
- Prepare Broth: Simmer broth with saffron threads to extract color and aroma.
- Season Rice: Rinse rice briefly under cold running water. Transfer to the clay pot and mix with smoked paprika.
- Add Liquid: Pour hot broth over rice. Bring to a boil uncovered.
- Cover & Reduce Heat: Once boiling starts, cover immediately and reduce heat to minimum. Allow to simmer gently for 20 minutes.
- Finish Off: Uncover, scatter seafood evenly across top layer. Return to oven for further 15 mins.
- Rest Before Serving: Remove from heat completely and rest covered for another 10 minutes. Enjoy garnished with lemon wedges!
Science Behind Clay Pot Cooking
Moisture Retention Properties
Have you ever wondered why food cooked in clay pots turns out so tender and juicy? The secret lies in the remarkable moisture-retaining capabilities of these humble containers.
Unlike metal pans that lose liquid quickly via evaporation, clay absorbs moisture, releasing it gradually during cooking. This process prevents drying out, ensuring meats stay succulent and vegetables retain their vibrant colors.
Here’s how it works step-by-step:
- Initial Absorption: Water molecules penetrate tiny pores present in unglazed clay surfaces.
- Steam Buildup: Inside the closed chamber formed by the lid, steam accumulates, surrounding ingredients with humid warmth.
- Condensation Effect: Excess moisture condenses against cooler areas near the rim, dripping back onto the food.
- Tenderizing Action: Continuous exposure to wet heat breaks down tough fibers, yielding fork-tender bites.
Mineral Infusion Process
Another fascinating aspect of clay pot cooking involves the gradual transfer of micro-nutrients from the material itself into the food being prepared. Although negligible in quantity, these trace elements play important roles in enhancing flavor profiles and supporting bodily functions.
Here’s a closer look at what’s happening:
- Calcium & Magnesium: Promote strong bones and teeth formation.
- Iron: Essential for oxygen transport throughout blood cells.
- Potassium: Regulates fluid balance and muscle contraction.
- Zinc: Supports immune function and wound healing processes.
While dietary contributions might seem minimal individually, combined efforts yield cumulative benefits worth celebrating!
Tips for Proper Usage and Maintenance
Seasoning Your New Clay Pot
Before diving headfirst into cooking, follow these steps to prime your brand-new clay companion:
- Submerge Completely: Fill a sink or basin with tepid tap water. Immerse the entire pot (including lid) for at least four hours.
- Wash Thoroughly: Using mild soap and non-abrasive cloth, scrub away dust particles accumulated during manufacturing.
- Rinse Abundantly: Run under cool running water until no traces of detergent remain.
- Dry Naturally: Leave upside-down on a wire rack until completely dry.
- First Cook: Prepare a basic tomato sauce or stock to seal pores permanently.
With proper seasoning complete, you’re ready to embark upon countless culinary delights!
Cleaning After Each Use
Keeping your treasured heirloom looking good demands care—but fear not! Simple maintenance keeps things simple:
- Avoid Detergents: Harsh cleansers strip protective coatings built up over time. Stick to plain water instead.
- Scrub Gently: Employ soft brushes designed explicitly for ceramic wares. Avoid harsh scrubbers or metal pads.
- Air Dry: Never rush drying by placing in direct sunlight or artificial heat sources. Natural air circulation works wonders.
- Store Safely: Store unused pots stacked vertically separated by cardboard sheets to prevent scratches.
Follow these guidelines religiously, and your trusty friend will serve loyally for decades ahead!
FAQ
Can I use any type of clay pot for cooking?
Yes, provided it’s intended specifically for culinary applications. Check labels carefully to avoid accidentally purchasing decorative models.
Do I need to soak my clay pot before each use?
No, after initial seasoning, occasional soaks suffice unless exposed to extreme conditions.
Is it safe to put a clay pot in the microwave?
Generally yes, though always double-check manufacturer recommendations. Microwaving enhances certain dishes’ textures significantly.
Why do some recipes recommend covering the pot during baking?
Covering traps steam, ensuring moistness and tenderness throughout extended cooking periods.
Will clay pots crack if subjected to sudden temperature changes?
Possibly, particularly with older pieces prone to stress fractures. Gradual warming/cooling minimizes risks considerably.
Are clay pots suitable for slow-cooking appliances?
Definitely! Their excellent insulation qualities complement slow-cooker environments beautifully.
How often should I re-season my clay pot?
Reseason periodically depending on usage frequency. Regularly cooked pots rarely demand frequent treatments.
What’s the best way to store my clay pot long-term?
Wrap securely in bubble wrap or tissue paper before storing upright in a cool dark area protected from moisture damage.
Can I freeze leftovers stored in clay pots?
Freezing isn’t recommended since expansion/contraction cycles weaken structural integrity. Opt for glass jars instead.
Any tricks for removing stubborn stains?
Create a paste mixing equal parts vinegar/baking soda. Apply generously, leave overnight, rinse thoroughly afterward.
My clay pot developed cracks despite careful handling. Now what?
Unfortunately, repair isn’t feasible. Replace damaged units promptly to prevent potential hazards.
My newly purchased clay pot leaks water. Help!
Confirm adequate pre-soaking duration. If still problematic, return/exchange faulty merchandise.
Food stuck firmly to inner surfaces refuses removal. Advice please?
Boiling hot water combined with gentle brushwork usually resolves issues effectively.
What causes black discoloration on exterior surfaces?
Normal carbonization caused by prolonged high-temperature exposures. Scrape lightly with steel wool for cosmetic improvements.
Is it possible to achieve crispy crusts using clay pots?
Yes indeed! Preheat empty pots before adding ingredients, enabling quicker sear development prior to lowering temperatures for finishing stages.