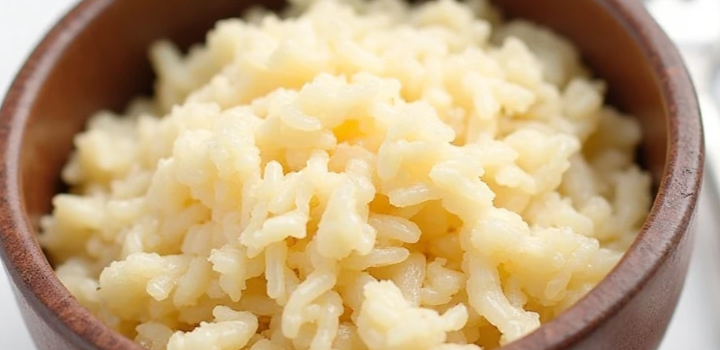
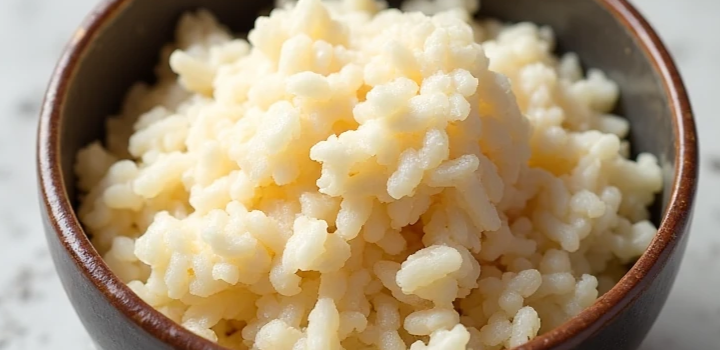
How to Make Brown Rice in a Rice Cooker


Brown rice is one of those pantry staples I always have on hand—it’s nutty, filling, and far more nutritious than white rice. But let’s be honest: cooking it on the stovetop can be tricky. That’s why I always rely on the rice cooker for consistent, fluffy results without the stress. In this guide, I’ll show you exactly how to nail it every single time.
Choosing the Right Type of Brown Rice
Not all brown rice is created equal—and the type you choose makes a big difference in texture, cook time, and flavor. I’ve cooked them all, from short-grain to exotic varieties, and here’s what I recommend depending on what you’re after.
Short, Medium, or Long-Grain Brown Rice
- Short-grain brown rice: Chewy and slightly sticky, great for rice bowls or sushi-style dishes.
- Medium-grain: Balanced and slightly tender, ideal for everyday sides.
- Long-grain: Fluffy and separate, perfect for meal prep and stir-fries. This is what most people think of when they hear “brown rice.”
I usually reach for long-grain brown rice for most recipes because it cooks up fluffy and pairs with just about anything.
Brown Jasmine vs Basmati – Which to Use
If you want to elevate your rice game, try brown jasmine or brown basmati.
- Brown jasmine has a subtle floral aroma and soft, slightly sticky texture.
- Brown basmati stays more separate and nutty—great for curries or pilafs.
Should You Use Parboiled or Sprouted Brown Rice?
- Parboiled brown rice cooks a little faster and has a firmer bite—great if you’re short on time.
- Sprouted brown rice is partially germinated, meaning it’s slightly sweeter, softer, and easier to digest.
Chef’s tip: If you’re cooking for kids or those new to brown rice, sprouted is a gentle introduction—they’ll barely notice it’s a whole grain.
Preparing Brown Rice for Cooking
Brown rice takes a little prep work to turn out just right—but trust me, it’s worth every extra step. A quick rinse and optional soak can mean the difference between mushy grains and that perfect, fluffy texture we’re after.
Should You Rinse Brown Rice?
Yes—always rinse your brown rice. This removes surface starch that can make the grains gummy and helps eliminate any dust or debris from processing.
To rinse:
- Place rice in a fine mesh strainer or bowl.
- Rinse under cold running water, swishing with your hand.
- Repeat until the water runs mostly clear (2–3 rinses usually do it).
Optional Soaking – Does It Help?
Soaking isn’t required, but it can reduce cooking time and lead to more evenly cooked grains—especially if your rice cooker doesn’t have a “brown rice” setting.
I recommend:
- Soak for 15 to 30 minutes max.
- Drain thoroughly before adding to the rice cooker.
Soaking Time Table
| Soak Time | Result |
| 0 minutes | Slightly chewier rice (still good) |
| 15 minutes | More tender, evenly cooked |
| 30 minutes | Softest texture, quickest cook time |
Chef’s tip: If I’m prepping a big batch for meal prep or guests, I always soak the rice—it makes timing more predictable and texture more consistent.
Measuring the Water-to-Rice Ratio
Getting the water ratio right is crucial. Here’s a quick reference:
| Desired Texture | Rice : Water Ratio |
| Firm & chewy | 1 : 1½ |
| Fluffy & tender | 1 : 1¾ |
| Extra soft | 1 : 2 |
Pro move: Use a kitchen scale for consistent batches—1 cup of brown rice = ~180g.
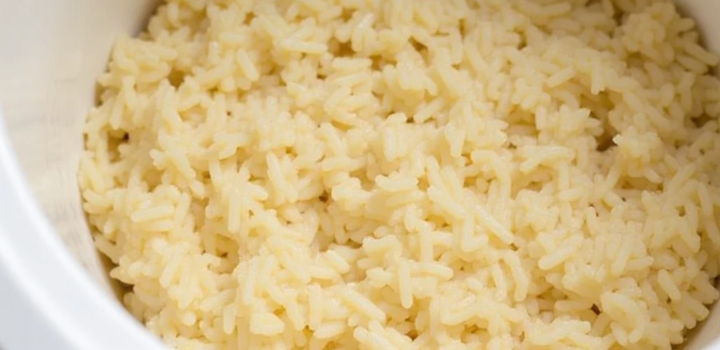
How to Cook Brown Rice in a Rice Cooker
Here’s where the magic happens. With a rice cooker, you don’t need to hover over the pot or second-guess timing. Just follow these steps, and you’ll get fluffy brown rice every single time.
Step-by-Step Instructions
- Rinse 1 cup of brown rice thoroughly.
- (Optional) Soak for 15–30 minutes, then drain well.
- Add to rice cooker with 1¾ to 2 cups of water, depending on desired softness.
- Add salt (½ tsp per cup of rice) and a splash of oil or butter if you like a richer texture.
- Close the lid and select the “Brown Rice” or “Whole Grain” setting.
- If your cooker doesn’t have one, use the regular setting but expect a longer cook time.
- Let it cook fully without opening the lid—this keeps the steam sealed in.
- Once done, let it rest for 10 minutes before opening. This helps the rice finish steaming.
- Fluff with a fork or silicone spatula and serve!
Adding Salt, Oil, or Broth for Flavor
Brown rice is earthy and hearty, but it can benefit from seasoning:
- Salt: Just a pinch can bring out the nutty flavor.
- Olive oil or butter: Adds richness and helps prevent sticking.
- Broth: Swap water for vegetable or chicken broth for deeper flavor (great for grain bowls and savory sides).
When to Use the Quick Cook Option
Some rice cookers offer a “quick” or “fast” cook option. I advise avoiding it for brown rice unless you’re really in a rush—this method often undercooks or yields uneven texture.
Chef’s tip: If your cooker doesn’t specify brown rice settings, manually increase the water slightly and allow for a longer rest at the end.
Cooking Time and Temperature Details
One of the biggest perks of using a rice cooker is consistency—but cook times can still vary depending on your appliance. Let’s break it down.
Average Cook Time by Rice Cooker Type
| Rice Cooker Type | Cook Time (approx.) |
| Basic single-button model | 45–50 minutes |
| Digital cooker w/ brown rice setting | 60–65 minutes |
| Instant Pot (rice mode) | 22–25 minutes |
Chef’s tip: Always let the rice sit 10 minutes after cooking, no matter the model. That final steam makes the texture perfect.
Recommended Internal Temperature
While you usually don’t need to temp-check rice, here are the benchmarks:
- Boiling point: 212°F (100°C) — where rice absorbs water
- Cooked brown rice: ~190–200°F (88–93°C) internally
- If checking with a probe, test the center of the batch—don’t press against the metal pot.
Why it matters: If the rice is undercooked, grains will be tough and chalky. Fully cooked brown rice should be tender but still hold its shape.
Caloric Value and Nutrition of Brown Rice
Brown rice isn’t just tasty—it’s a powerhouse of whole-grain nutrition. As a chef, I love how it fuels the body while offering a comforting, nutty base for almost any dish.
Per 1 Cup Cooked Brown Rice (about 195g)
| Nutrient | Amount |
| Calories | ~215 kcal |
| Carbohydrates | ~45g |
| Protein | ~5g |
| Fiber | ~3.5g |
| Fat | ~1.6g |
| Sugar | <1g |
| Glycemic Index | ~50–55 (low–moderate) |
Health Benefits of Brown Rice
- Whole Grain Goodness: Brown rice retains the bran and germ, which means more fiber and nutrients compared to white rice.
- Digestive Health: Thanks to fiber, it helps keep you full and supports a healthy gut.
- Heart-Friendly: Low in fat, sodium, and cholesterol-free—it’s a clean, cardio-safe carb.
- Naturally Gluten-Free: Safe for those with gluten sensitivity or celiac.
Chef’s Note: I often recommend brown rice as a healthier alternative for clients looking to reduce processed grains without sacrificing satisfaction. It also pairs beautifully with lean proteins, roasted veggies, and stir-fried dishes.
Tips for Perfect Brown Rice Every Time
Even with a rice cooker doing most of the work, there are still a few key tricks that can take your brown rice from good to absolutely flawless. These are the little chef moves I rely on in both home and professional kitchens.
Don’t Lift the Lid Midway
It’s tempting—I get it. But lifting the lid releases steam and disrupts the cooking environment. Just trust the process and wait for the beep.
Let It Rest Before Fluffing
After the rice cooker finishes, let your brown rice sit untouched for 10 minutes with the lid closed. This step allows moisture to evenly distribute and the grains to firm up for the perfect bite.
Use a Silicone Spatula for Fluffing
Instead of a fork, I like to use a silicone spatula—it’s gentle on nonstick pots and fluffs rice without crushing the grains.
How Altitude Affects Cook Time
At high altitudes, water boils at a lower temperature, so rice can take longer to cook. You may need to add a bit more water and extend the cook time by 5–10 minutes.
Add Aromatics or Flavor Boosters
Want more depth? Add a bay leaf, clove of garlic, or splash of soy sauce or broth to the water before cooking. These little touches infuse the rice without overpowering it.
Chef’s Secret: For a richer texture, I sometimes stir in a teaspoon of olive oil or butter before cooking. It gives the rice a glossy finish and subtle flavor enhancement.
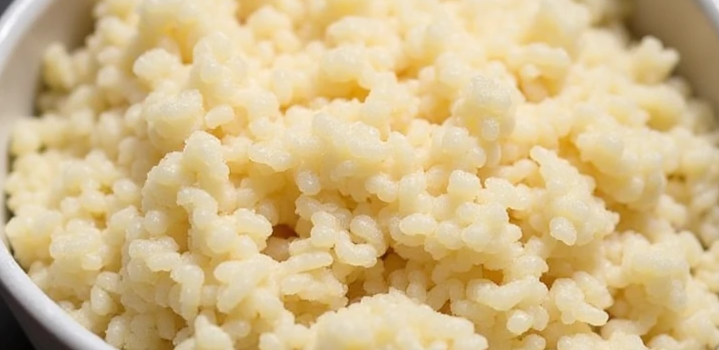
Mixing Brown Rice with Other Grains for Flavor and Nutrition
Sometimes I like to take brown rice up a notch by blending it with other grains. It’s a chef’s trick to add texture, boost nutrition, and create a more complex, satisfying bite.
Why Blend Brown Rice with Other Grains?
- Texture variety – some grains stay chewy while others go soft
- Flavor contrast – nuttiness from wild rice, earthiness from farro, or sweetness from millet
- Nutrient diversity – different grains bring protein, fiber, minerals, and antioxidants
It’s like building a symphony of grains—each one brings its own note.
Great Grain Combinations with Brown Rice
| Grain | Ratio with Brown Rice | Flavor/Texture Notes | Cooking Tip |
| Quinoa | 1:1 | Light, fluffy, slightly nutty | Cooks in same time as brown rice |
| Millet | 1:1 | Mild, tender, slightly creamy | Add with rice and same water ratio |
| Wild Rice | 1:1.5 | Earthy, firm, chewy texture | Soak wild rice 30 min before mixing |
| Precooked Farro | 1:1 | Nutty, slightly chewy | Add halfway through rice cooking |
| Barley (hulled) | 1:1.5 | Chewy, hearty | Needs soaking or pre-cooking |
Chef’s Tip: If you’re experimenting with mixed grains, I recommend adding ¼ cup extra water to ensure full hydration—especially when working with barley or wild rice.
How to Cook Mixed Grains in the Rice Cooker
- Rinse all grains together
- Soak if needed (wild rice, barley)
- Use a 1:2 rice-to-water ratio as a safe starting point
- Let rest after cooking just like plain brown rice
- Fluff gently and taste-test for doneness
Bonus idea: Add a pinch of cumin seeds, curry powder, or chopped herbs to turn your grain mix into a flavorful side or vegetarian main.
Storage and Reheating Tips
Brown rice stores beautifully, making it perfect for meal prep or saving leftovers. That said, how you store and reheat it makes a big difference in maintaining that fresh-cooked texture.
How Long Does Cooked Brown Rice Last?
| Storage Method | Shelf Life | Notes |
| Refrigerator (sealed container) | 4–6 days | Let cool before sealing to prevent condensation |
| Freezer (in bags or containers) | Up to 3 months | Portion into 1–2 cup servings for easy thawing |
Chef’s tip: Always label and date your rice—you’ll thank yourself later.
Best Reheating Methods
Here’s how I keep reheated brown rice from drying out:
Microwave Method
- Place rice in a microwave-safe bowl
- Add 1–2 tbsp of water per cup of rice
- Cover with a damp paper towel
- Microwave in 30-second bursts, fluffing in between
Stovetop Steam Method
- Place rice and a few tablespoons of water in a pan
- Cover with a lid
- Heat over low, stirring occasionally, until warm and fluffy
From Frozen
- No need to thaw—just reheat from frozen with water added
- Use microwave or stovetop with a few extra minutes
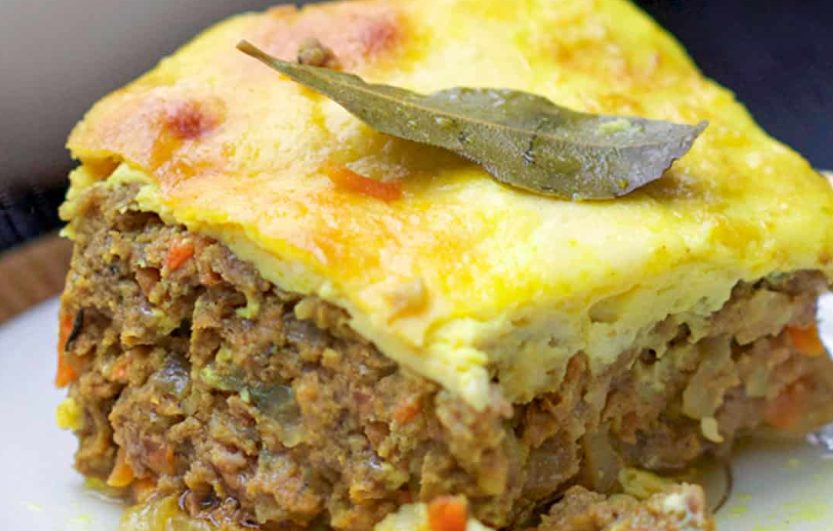
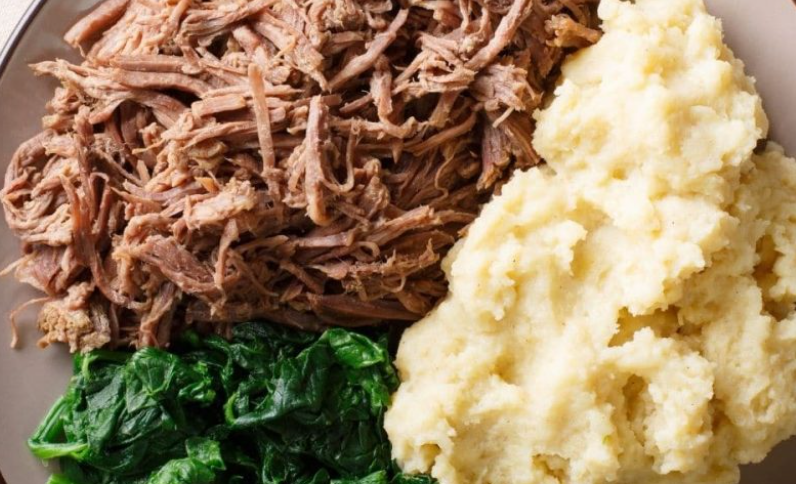
Chef’s trick: For a complete meal prep box, I often reheat brown rice alongside plant-based protein. For instance, delicious Instant Pot black beans cooked with spices make a perfect pair for a quick grain bowl: cook black beans in Instant Pot.
Alternative Cooking Methods
While I swear by the rice cooker for brown rice, there are a few other reliable ways to get great results. Whether you’re using a pressure cooker, stovetop, or oven, these methods offer flexibility without sacrificing flavor.
Instant Pot / Pressure Cooker
If time is tight, an Instant Pot is your best friend.
Basic Method:
- Rinse 1 cup brown rice
- Add 1¼ cups water
- Cook on High Pressure for 22 minutes
- Natural release for 10 minutes before opening
- Fluff and serve
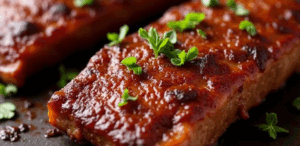
Chef’s tip: Add a cinnamon stick or clove of garlic for extra aroma. If you’re also preparing proteins in the same device, check out my guide to cooking juicy boneless pork ribs in the Instant Pot—they pair beautifully with rice for a hearty meal. Here’s how: cook boneless pork ribs.
Stovetop Simmer (Pasta Method)
This method is forgiving and great for batch cooking:
- Bring a pot of salted water to a boil (just like pasta)
- Add rinsed brown rice
- Boil uncovered for 30 minutes
- Drain and let steam in the pot, covered, for 10 minutes
Benefits: Less likely to overcook, grains stay separate, and it works with any amount.
Oven-Baked Brown Rice
For a “set it and forget it” method:
- Preheat oven to 375°F (190°C)
- In a baking dish, combine:
- 1 cup rinsed brown rice
- 1¾ cups boiling water
- 1 tbsp oil or butter
- ½ tsp salt
- Cover tightly with foil
- Bake for 1 hour
- Remove, let sit 10 minutes, then fluff
Why I love it: This method keeps rice perfectly moist and frees up stovetop space.
Common Mistakes to Avoid
Even with a rice cooker doing the heavy lifting, small missteps can lead to dry, gummy, or unevenly cooked rice. Here are the top mistakes I see people make—and how to fix them.
Using Too Much Water
Too much liquid can make brown rice mushy and overcooked. Stick to the recommended water ratio (usually 1¾ cups per 1 cup of rice), unless you’re adjusting for altitude or grain blends.
Tip: Always use the same measuring tools for consistency, or switch to a kitchen scale for more precision.
Not Letting the Rice Rest
The “rest” phase isn’t optional—it’s where the rice finishes steaming and firms up. Skipping it leaves you with wet or broken grains.
Rule: Let it sit, lid on, for at least 10 minutes after the cooker turns off.
Skipping the Rinse
Rinsing removes excess starch and helps the grains stay separate. Skipping this step often leads to gummy clumps.
Opening the Lid Midway
This is the culinary version of opening the oven door while baking a soufflé—don’t do it. It lets out steam and ruins the controlled cooking environment.
Let it cook untouched. Trust your rice cooker.
Using Quick-Cook Settings
While tempting, “quick cook” or “express” modes don’t allow enough time for brown rice to fully hydrate. This often results in hard or uneven grains.
Pro move: Use the standard brown rice setting or manually set a longer cycle if needed.
Frequently Asked Questions (FAQ)
What is the best water-to-brown rice ratio for a rice cooker?
The ideal ratio is typically 1 cup of brown rice to 1¾ cups of water. If you like your rice softer, you can go up to 2 cups of water. Always adjust slightly based on the rice cooker model and rice type.
Should I rinse brown rice before cooking it in a rice cooker?
Yes, rinsing is essential. It removes surface starch that causes clumping and ensures fluffier, more separated grains.
Can I soak brown rice before cooking it?
You can, but it’s optional. Soaking for 15–30 minutes shortens cooking time slightly and helps with even texture—especially helpful in basic rice cookers.
How long does brown rice take to cook in a rice cooker?
Depending on the model, cook time ranges from 45 to 65 minutes. Digital cookers with a brown rice setting usually take the longest but give the best texture.
Is brown rice healthier than white rice?
Yes. Brown rice contains more fiber, vitamins, and minerals because the bran and germ layers are intact. It’s a whole grain and a great source of complex carbs.
What setting do I use if my rice cooker doesn’t have a “brown rice” option?
Use the standard white rice or “cook” setting, but add slightly more water (around 2 cups per cup of rice) and let it rest longer after cooking.
Can I add seasoning or broth to brown rice in the rice cooker?
Absolutely. Replace water with broth, and consider adding salt, herbs, garlic, or a small amount of oil or butter to boost flavor.
Why is my brown rice too chewy or undercooked?
It usually means you didn’t use enough water, or the cook cycle ended too early. Try increasing the water ratio or letting the rice rest longer before fluffing.
How do I store leftover brown rice?
Cool it quickly and store in an airtight container in the fridge for up to 6 days or in the freezer for up to 3 months.
What’s the best way to reheat cooked brown rice?
Microwave it with a splash of water and cover with a damp paper towel, or reheat on the stove with added moisture and a lid.
Can I cook brown rice in an Instant Pot instead?
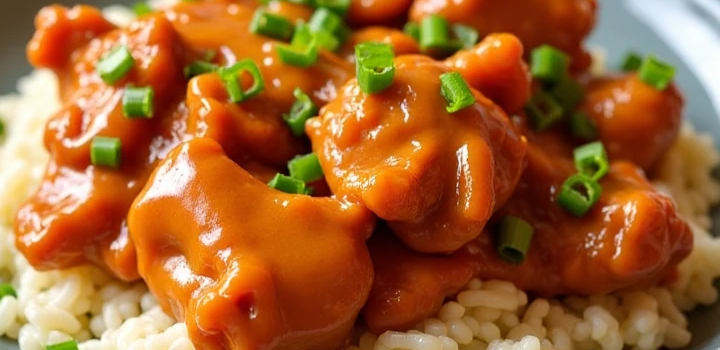
Yes! Use 1¼ cups water per cup of rice, set to high pressure for 22 minutes, and let it naturally release pressure for 10 more minutes. The texture comes out beautifully tender. If you’re already using your Instant Pot for proteins, like this bottom round roast beef, brown rice makes an excellent hands-off side.
What kind of brown rice should I use?
Long-grain is the most versatile, but jasmine and basmati varieties are great for aromatic dishes. Short-grain is chewier and more moist—ideal for bowls.
Can I mix other grains with brown rice in the rice cooker?
Yes! Try combining with quinoa, millet, or wild rice. Just adjust water and soaking times depending on the grain.
Why does brown rice overflow or bubble in the rice cooker?
That usually happens if you overfill or skip rinsing. Use a larger cooker for big batches and always rinse thoroughly.
Is it okay to use the “quick cook” setting for brown rice?
I don’t recommend it. It often results in undercooked rice. Stick with the full cycle or brown rice setting for better texture.